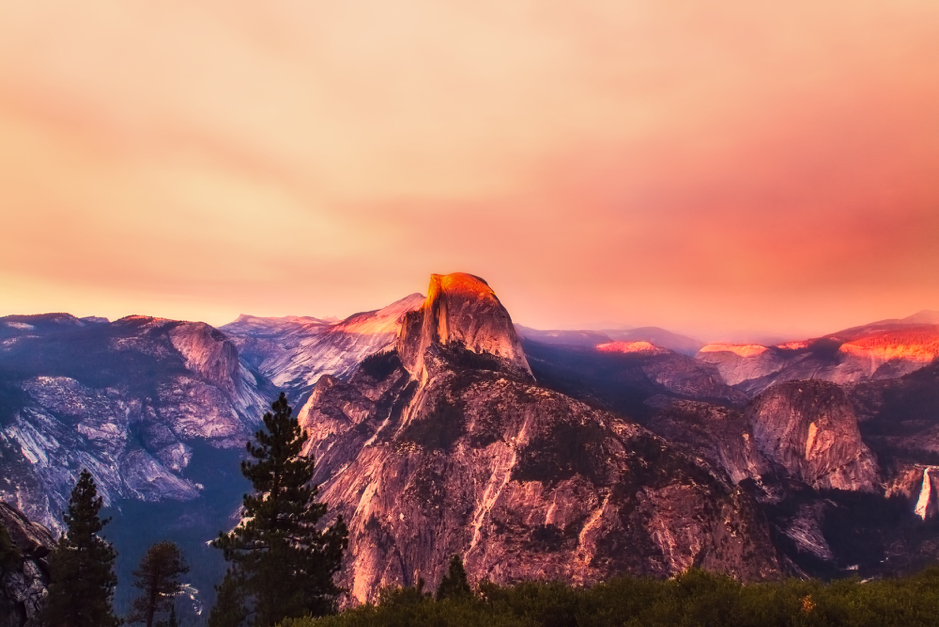
Yosemite National Park is a gearhead’s dream. Just spend a few days in Camp Four and you'll see that what makes this a singular destination for climbers – explorers from across the globe gather here to exchange route beta, challenge themselves on the amazing bouldering problems around the campsite and sort through endless piles of gear.
To the untrained eye, these collections might look like a whirling dervish of clanking metal and knotted mayhem. But they serve unique and bespoke purposes that, in the right hands, can get you safely up and down the towering granite cathedrals of this enchanting valley.
Getting started at rock climbing in Yosemite
There are climbs for every ability imaginable somewhere in this park. First-timers should hit up the Yosemite Mountaineering School to do intro courses. In these intros, you’ll learn to safely belay your climbing partner, how to use your feet and hands properly to ascend the rock, and the basics of rock climbing safety.
You'll have a blast doing it, but it's important to remember that climbing is dangerous. You should only go out on your own if you (or your partner) already know what you are doing. You can take more advanced courses at the Mountaineering School, or, if you’re confident that you’re ready for action, head to the notice board at Camp Four, where you can find climbing partners.
Rock climbing essentials
You can gear up before you depart for the park or wait to do your shopping at the Yosemite Mountain Shop to round out your equipment. Either way, the basics will probably cost you about US$200. It’s of utmost importance that any climber is going to need a well-fitting harness (costing between $50 and $150). Some top climbing manufacturers include Black Diamond (blackdiamondequipment.com), Petzl (www.petzl.com) and Arc-Teryx (www.arcteryx.com). Look for something that fits snug but allows for good freedom of movement.
What you’re really interested in, though, is the glorious hardware – even a few pieces of jangling metal can make you feel heroic. Early on in your climbing career, you’ll just need the basics to help you safely belay, rappel and attach yourself to anchors set up in the rock by a qualified guide or leader.
Start with a good locking carabiner (an oval-shaped device with an opening gate that can quickly attach to bolts on the rock or pieces of gear that a qualified leader places in cracks in the rocks to protect from falls and create bomber anchors used to belay climbers from below). These come in myriad sizes – generally, the bigger the better. Add a belay or rappel device like a simple Black Diamond Super 8 (blackdiamondequipment.com). Add on a few carabiners for effect and grab a helmet to protect your melon.
Next up comes a good pair of climbing shoes. Climbing shoes are all about feel. For long climbs and cracks, you might want a stiffer sole. For shorter sport climbs, most people go with something that’s a little softer to the touch. No matter your choice, you generally size these down one-and-a-half sizes, and often wear them without socks. Yes, climbing shoes get stinky as hell, but that’s part of the charm.
Finally, round out your climbing gear with a chalk bag, comfortable pants – Prana (www.prana.com) makes some pretty cool stuff with plenty of room to stem your way up big chimneys or just bop through the Yosemite Valley Food Court and grab a coffee.
Real adventure: bouldering, free climbing and beyond
The adventures to be had on the vertiginous playgrounds of the Yosemite Valley are seemingly endless. In fact, people are still climbing new routes to this day.
On the one hand, a great thing about Yosemite is there is plenty of bouldering (climbing low to the ground without ropes or harnesses) to be had.
There are about 700 established bouldering problems in the Valley. The most famous of these in Yosemite (and probably the world) is right in Camp Four. Midnight Lightning was first climbed by Ron Kauk in 1978. An iconic lightning bolt marks the spot. Don’t expect to get to the top of this one unless you've really honed your skills.
Many beginners, though, will start with traditional free climbing (not to be confused with free soloing, where you don’t use a rope). Most climbing in Yosemite is done without fixed bolts or anchors, meaning an experienced leader will climb up the route, placing gear (such as expanding cams) into cracks every five or ten feet and connecting the rope to the protection using a carabiners. The second climber stays down below, belaying the leader with their belay device that is used to stop the rope from sliding if the leader falls.
At the top, the leader will connect several pieces of protection to form an anchor (these are so strong they could hold a Mack Truck). From there, the less experienced climber follows the route, pulling the gear out as they go and meeting the leader, where they will connect to the anchor with their locking carabiner. This can continue for 3000 feet pitches of about 100 to 150 feet each.
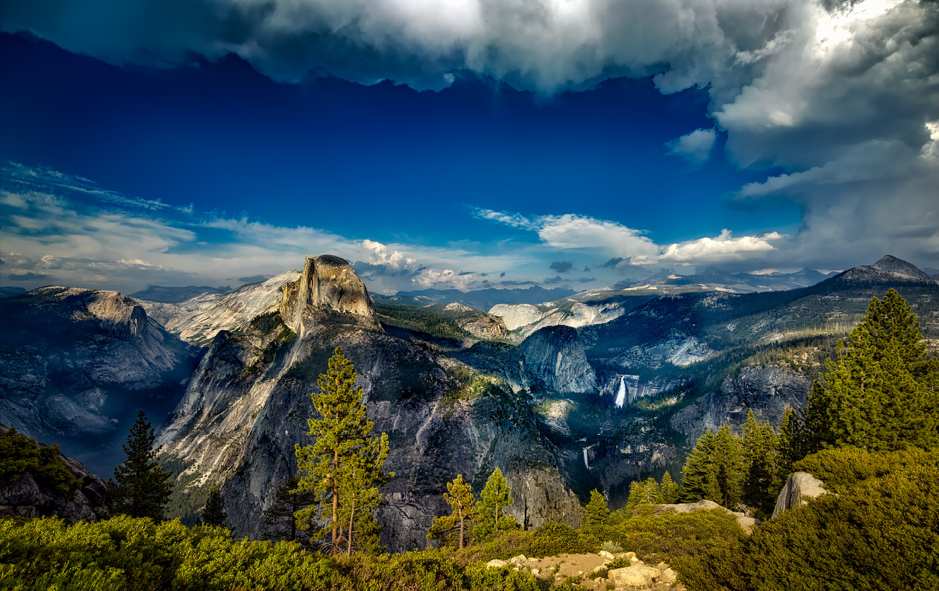
The Grack on Glacier Point Apron is rated at 5.6. Perfect for newbies, this low-inclined apron is a great place to familiarize yourself with footing techniques such as edging (on a dime) and smearing (putting your heals down to stick to the rock like a gecko).
New heights: tackling the big names
Once you’ve worked out some of the systems (and any lingering fear of heights), try out classics like The Nutcracker (a 5.8 that’s no gimme with a big mantel move at the top) or Bishop’s Terrace on Church Bowl. After mastering the shorter three- to five-pitch routes (that’s still like 500 feet off the ground), try some of the longer day climbs. Tuolomne Meadow’s Fairview Dome has a classic 12-pitch route right up the center. It’s 5.9, so you probably need to be a pretty strong intermediate climber with a solid leader to get up. But the views from the top are nothing short of glorious.
With more experience under your belt, you can consider three- to ten-day Big Wall Climbs on the major monoliths like El Capitan and Half Dome. Big Wall climbing is where the hardware gets really ridiculous. You’ll need an assortment of ascenders, nuts, cams, bivvy ledges, sleeping bags, haul bags, and poop tubes (yes they take that whole ‘carry in, carry out’ thing seriously) to make these routes. But spending days on end in the vertical playgrounds of the Valley may just make it worthwhile.
Expeditions on terra firma
Not all Yosemite adventures take to the vertical. With the right gear (hiking shoes, plenty of water, a map, a compass or GPS, day pack, and possibly a good walking stick), you can easily explore to the furthest edges of this great park. Yosemite is the size of Rhode Island, so a good tip is to plan your route ahead of time, and tell somebody where you went and when you expect to get back.
Start with easier valley hikes like a five-hour tromp to Chilnualna Falls or up to Inspiration Point. Up the ante with a full-on 12-hour hike up the cable route on Half Dome or multi-day hikes that take you from the Valley clear up to Tuolomne Meadows through some of the most amazing backcountries you will ever see on this planet.